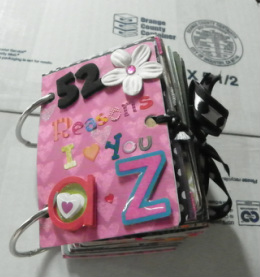
Do you love someone, and want them to know all of the little reasons why you love them? This is something you can do, to show how much you love them, and to have intimate memories remembered. There are only a few things you really need to have to make one of these.
Items you must have:
A standard deck of 52 playing cards
Two rings (Depending on how you decorate your cards will determine the size of rings you need)
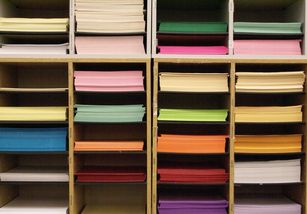
A variety of Scrapbooking supplies, stickers, ribbon
Someone you love :)
Items you must have:
A standard deck of 52 playing cards
Two rings (Depending on how you decorate your cards will determine the size of rings you need)
A variety of Scrapbooking supplies, stickers, ribbon
Someone you love :)
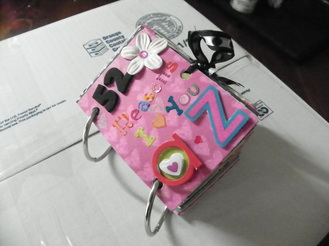
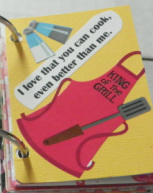
The first thing you should do is make a list of 52 reasons why you love your significant other. These can be as simple as "your eyes, your smile" or they could be something that is intimate to the two of you. For example: " I love that you are really messy when you eat your wings" It is a joke between my husband and I, but meant a lot to him when he was reading it.
Next up...I covered my cards in different scrapbook paper. You can leave them as playing cards, or you can cover them whichever you choose, and it could depend on the amount of time you have. I enjoyed making this, and took all the time I wanted because My husband was away, and it helped me pass the time.
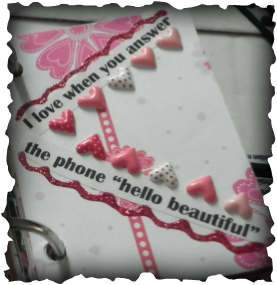
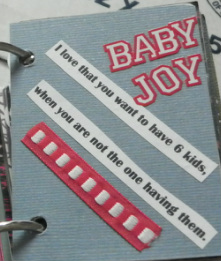
Now you can decide whether you want to write the reasons on each card, or if you want to type them in small font. I chose to type them because it was much easier for me, and looked a lot neater. If you choose to type them, type them in small enough font to fit on the card, but big enough to read. When you place them on the card, you can always cut them to make multiple rows, or place them diagonally if need be as well.
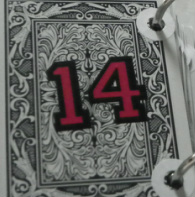
On the backside of the cards, you place the numbers. So for example, after your cover, the backside will say "1" and then the next page has the first reason. On the back side of the first reason, will say "2" and so forth. You can write the numbers, or you can use stickers. I chose to use the stickers.
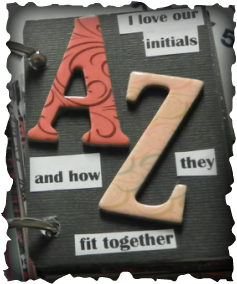
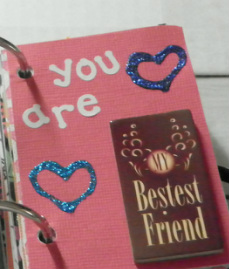
Now, you can decorate your pages. You can use any kind of stickers, buttons, ribbon, glitter, or anything else that you like. This was my favorite part next to creating my list. You have so much free reign to do whatever it is you like to do. You can make them as simple as you'd like or as full and elaborate as you'd like.
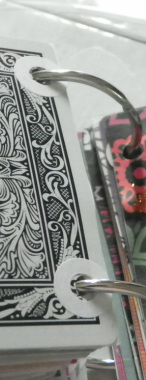
Now you can hole punch the cards, so that they can go onto the rings in order. Before I placed them on the rings, I used the little white hole protectors so that the holes would not rip. These are not something you have to have, but they did help keep mine from ripping open and falling off of the rings.
Once it is put together you can poke a hole in the front, and a hole in the back and tie a ribbon to keep it together and make it look cute!
 |  |  |  |


 RSS Feed