Last Christmas I almost had a breakdown...
We had just moved in to our home the month before, but I didn't want to let that prevent us from having the holliest jolliest Christmas. My intentions were good. I wanted to make Christmas special for everyone, but I learned the hard way that I should have been planning ahead!!
And that's how it happened. I created a monster. I have been thinking about Christmas since April. Gift ideas are always swirling in my head. (And I'm almost done with this year's Christmas cards!)
Well, with this project I created an anniversary gift AND a Christmas gift. But don't tell.... these gifts were cheap. Like really cheap.
While I was in Utah, my sweet cousin Michelle showed me a couple of projects using resin. She even sent me home with some resin to try out on my own! So I quickly put it to the test. And let me just tell you--I am in love! I can see more resin in my creative future!
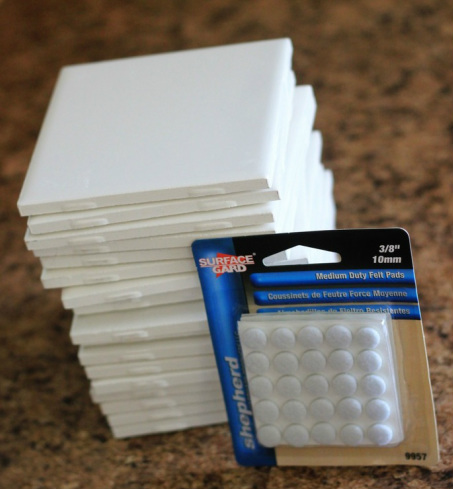
I started out with a trip to Home Depot. These 4x4 tiles were only 19 cents each! It doesn't get much cheaper than that! And I bought a package of 72 felt mounting circles for about $3.50. Not too shabby!
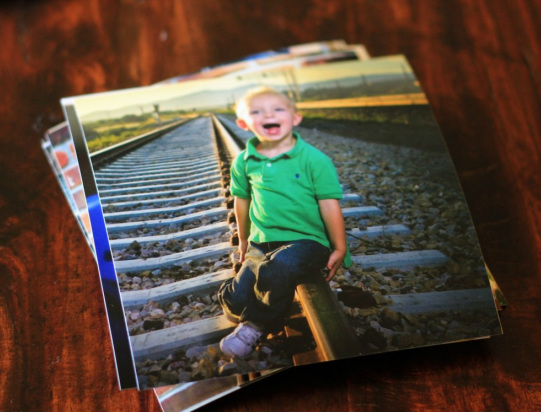
Next, I ordered some photos.
Only 13 cents a print at Costco! I cut the prints down to 4x4 so they would each fit on a tile.
Only 13 cents a print at Costco! I cut the prints down to 4x4 so they would each fit on a tile.
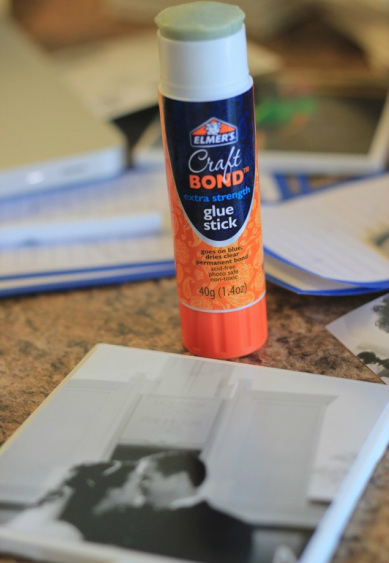
I used a regular old Elmer's glue stick to paste each picture onto the tiles. (I love glue sticks--you can't leave fingerprints with glue sticks!!)
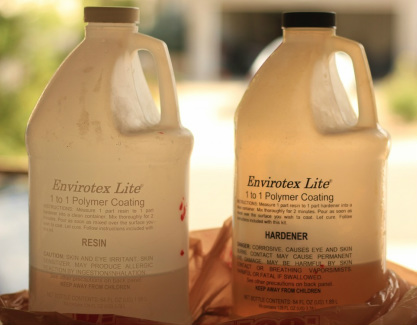
I won't give a full tutorial on using resin because each product is a little different. I used Envirotex Lite, and I followed the instructions on their website very precisely. I have heard that the key to using resin is precision. So I was careful to follow everything to a T! And it worked beautifully! I recommend buying this at Hobby Lobby, where you can use a 40% off coupon. Just a little bit of this will last forever!! Split the cost with a friend, and you'll be set with resin projects for a long time!
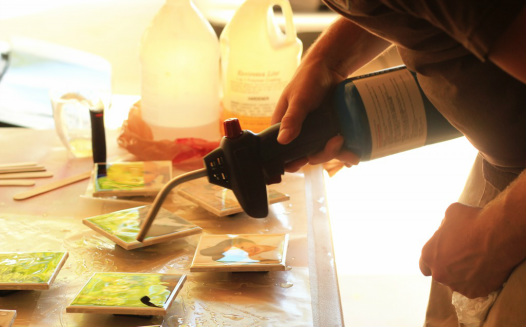
After mixing the resin with the hardener, I just poured it on! I spread it out using popsicile sticks. My hubby helped me use a blow torch (on low) to get out the bubbles that pop up in the first 15 minutes or so. (I've received a lot of comments asking if you have to use a blow torch. The answer is NO! You can simply blow through a straw, blowing out the bubbles in the very same way. My husband preferred to look like a hotshot with a blow torch!)
Then it took them a full 24 hours to harden up! In fact, it took 72 hours to get completely hard.
Then it took them a full 24 hours to harden up! In fact, it took 72 hours to get completely hard.
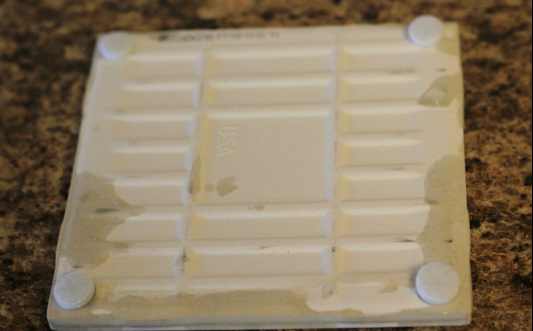
Once dry, I mounted 4 of the felt circles on the bottom of each tile so they would slide easily on wood without scratching!
All done!
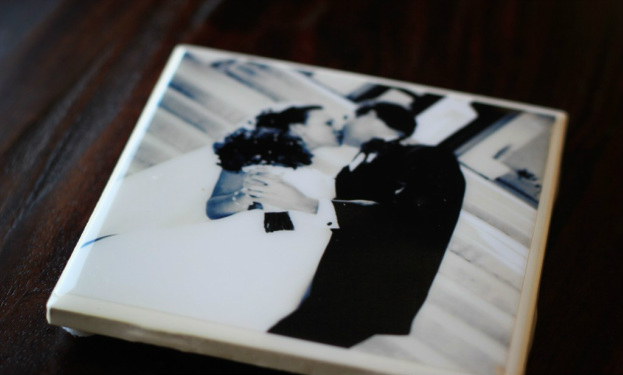
I have to tell you how much I love the hard, smooth glossiness of resin! It's incredible--almost glasslike!
I have to tell you how much I love the hard, smooth glossiness of resin! It's incredible--almost glasslike!
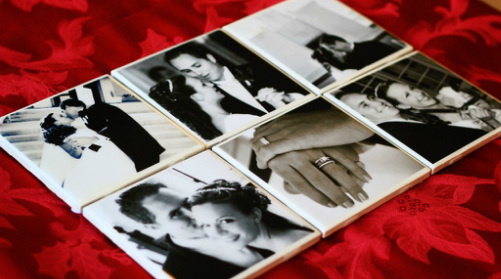
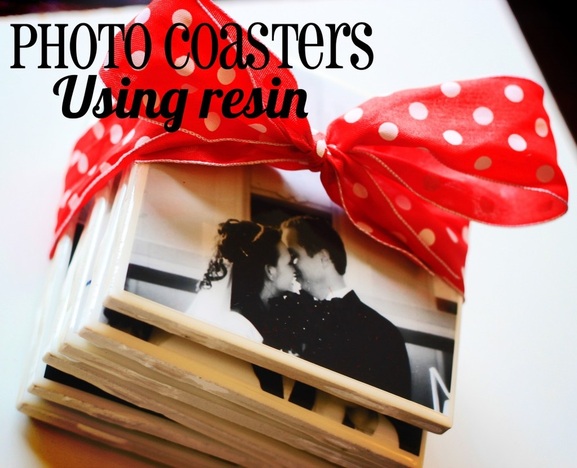
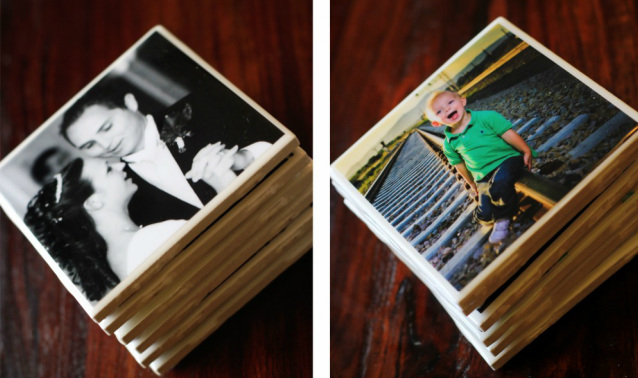
I made a set of 6 coasters as an anniversary gift for my hubby. I used black and white wedding photos. I can't look at my wedding photos too much! Love them! So hopefully when Mr. Oopsey Daisy is drinking his Cokes, he'll appreciate the coaster underneath!

Now these are stinkin' cute!!
I made another set of coasters using photos of the sweet grandchildren. These will make the perfect gift for my parents for Christmas. I wouldn't be surprised if my Mom puts these up on an easel instead of using them as drink coasters!
I made another set of coasters using photos of the sweet grandchildren. These will make the perfect gift for my parents for Christmas. I wouldn't be surprised if my Mom puts these up on an easel instead of using them as drink coasters!
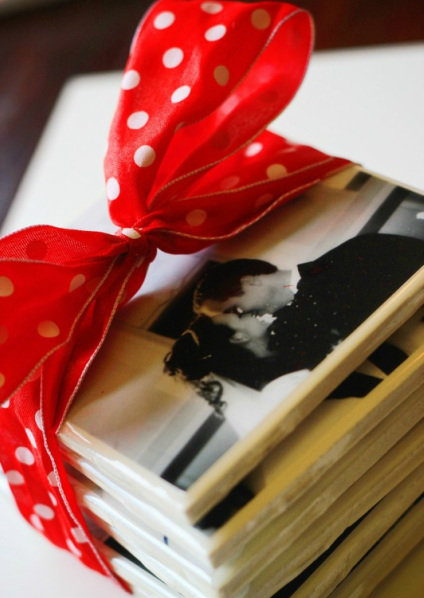
Tie them up with a bow, and you have the perfect gift!
Two sets of coasters (and enough supplies for a third!)--for only $6.50 total. That's about $2.19 per set!
My hubby is so proud of my frugality! And I'm proud of my gift planning!
Tutorial from: Alison - Oopsey Daisy Blog
My hubby is so proud of my frugality! And I'm proud of my gift planning!
Tutorial from: Alison - Oopsey Daisy Blog

 RSS Feed